1. Raffia - Should be split and about 2 ½ feet long. A clothespin makes a nice way to hold the raffia pieces
2. Scissors
3. Needle – Embroidery No. 1 through 5
4. Plumbers Compression Sleeve (found at hardware store), soda straw or copper tubing - It should have a 1/4 “ diameter. The tubing and soda straw should be about ½” long. Pine needle workers call this tool a gauge. It is used to keep pine needles in place while working. I have found the compression sleeve the easiest to use.
5. Thimble
6. Pine Needles – Approximately 10 – 12 “ in length. Wash needles by swishing in soapy water and let dry. Too much exposure to the sun when drying will darken the needles. Trim off stem end. Store them in 3 “ bundles tied with string or rubber bands. Do not use green needles.
7. Gourd – Cleaned and finished with holes drilled every ½” and as close to the top opening as possible. The holes need to be large enough for the needle and raffia to pass through.
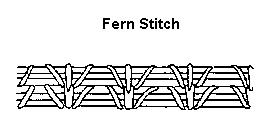
By using the wheat stitch, it can also become a Fern Stitch. This is done by bringing the thread from the back over and coming in from the back, but working to the right instead of the left.
Directions for making each stitch
Come through center of previous row of needles and raffia from the back. Make sure to bring thread through same hole. Then thread over and back into same hole and over to next stitch and so on.
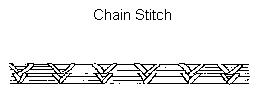
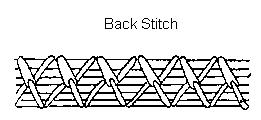
This stitch is the one that is worked to the right as explained in the last steps of the Fern Stitch. This stitch can be used on any of the stitches. It also tends to strengthen the other stitches.
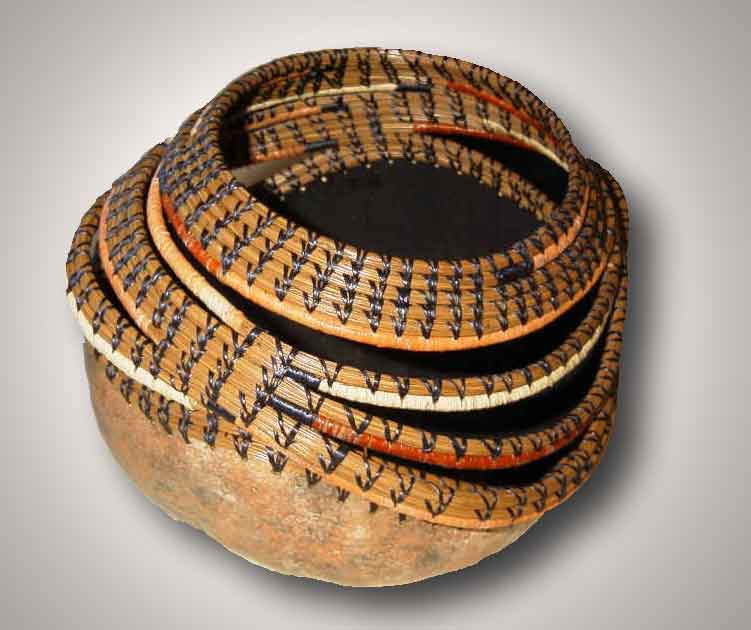
Bring needle and thread in from back to front. Thread over through back to front, spacing the stitches evenly while working. When starting the second row, bring thread in from back in very same hole as the first stitch that was made in No. 1 row. Then go through back of second stitch of first row piercing the raffia and needles in the center. This will split the raffia and will give the work a swirled effect.
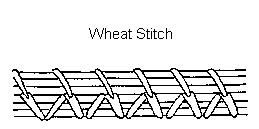
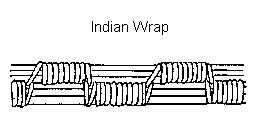
Overcast needles with raffia any desired length, being sure to attach a stitch in the previous row from about 5/8 to ½ inch apart. Many different designs can be accomplished by using this stitch.
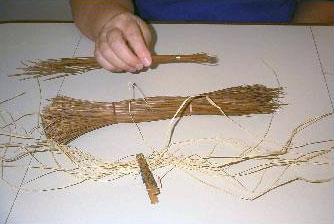
Before beginning, dampen needles and raffia to prevent breakage.
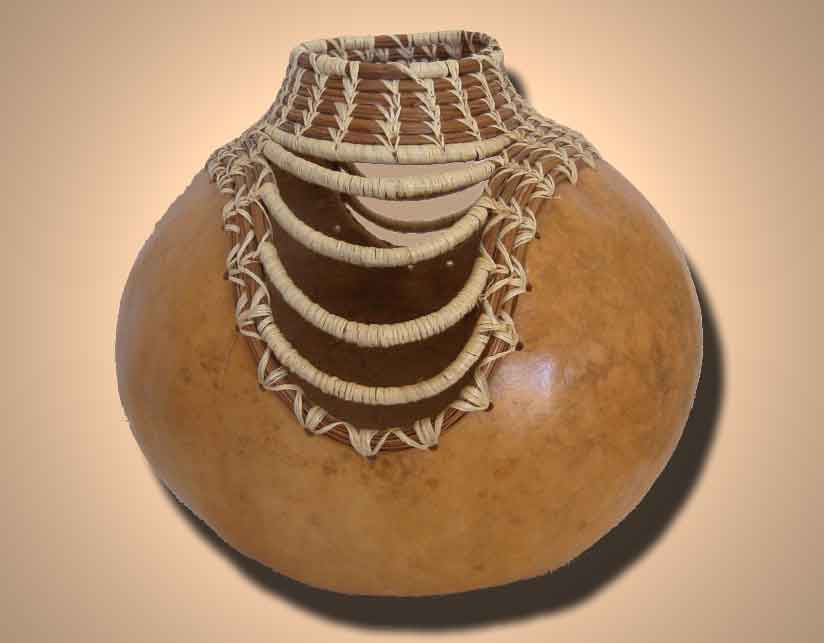
Fill the gauge with needles all facing the same direction. Begin with the pointed end of the needles and hold them firmly to the top rim of the gourd. Fasten down with raffia by going through the hole in the gourd several times starting from the inside of the gourd. Work from right to left. When stitching make sure to keep the gauge full by inserting each needle, stem end first, into the middle of the bundle of needles in the gauge. Keep the gauge full but not so tight that it is hard to slide.
No knots are used with the raffia but rather several overlapping stitches.
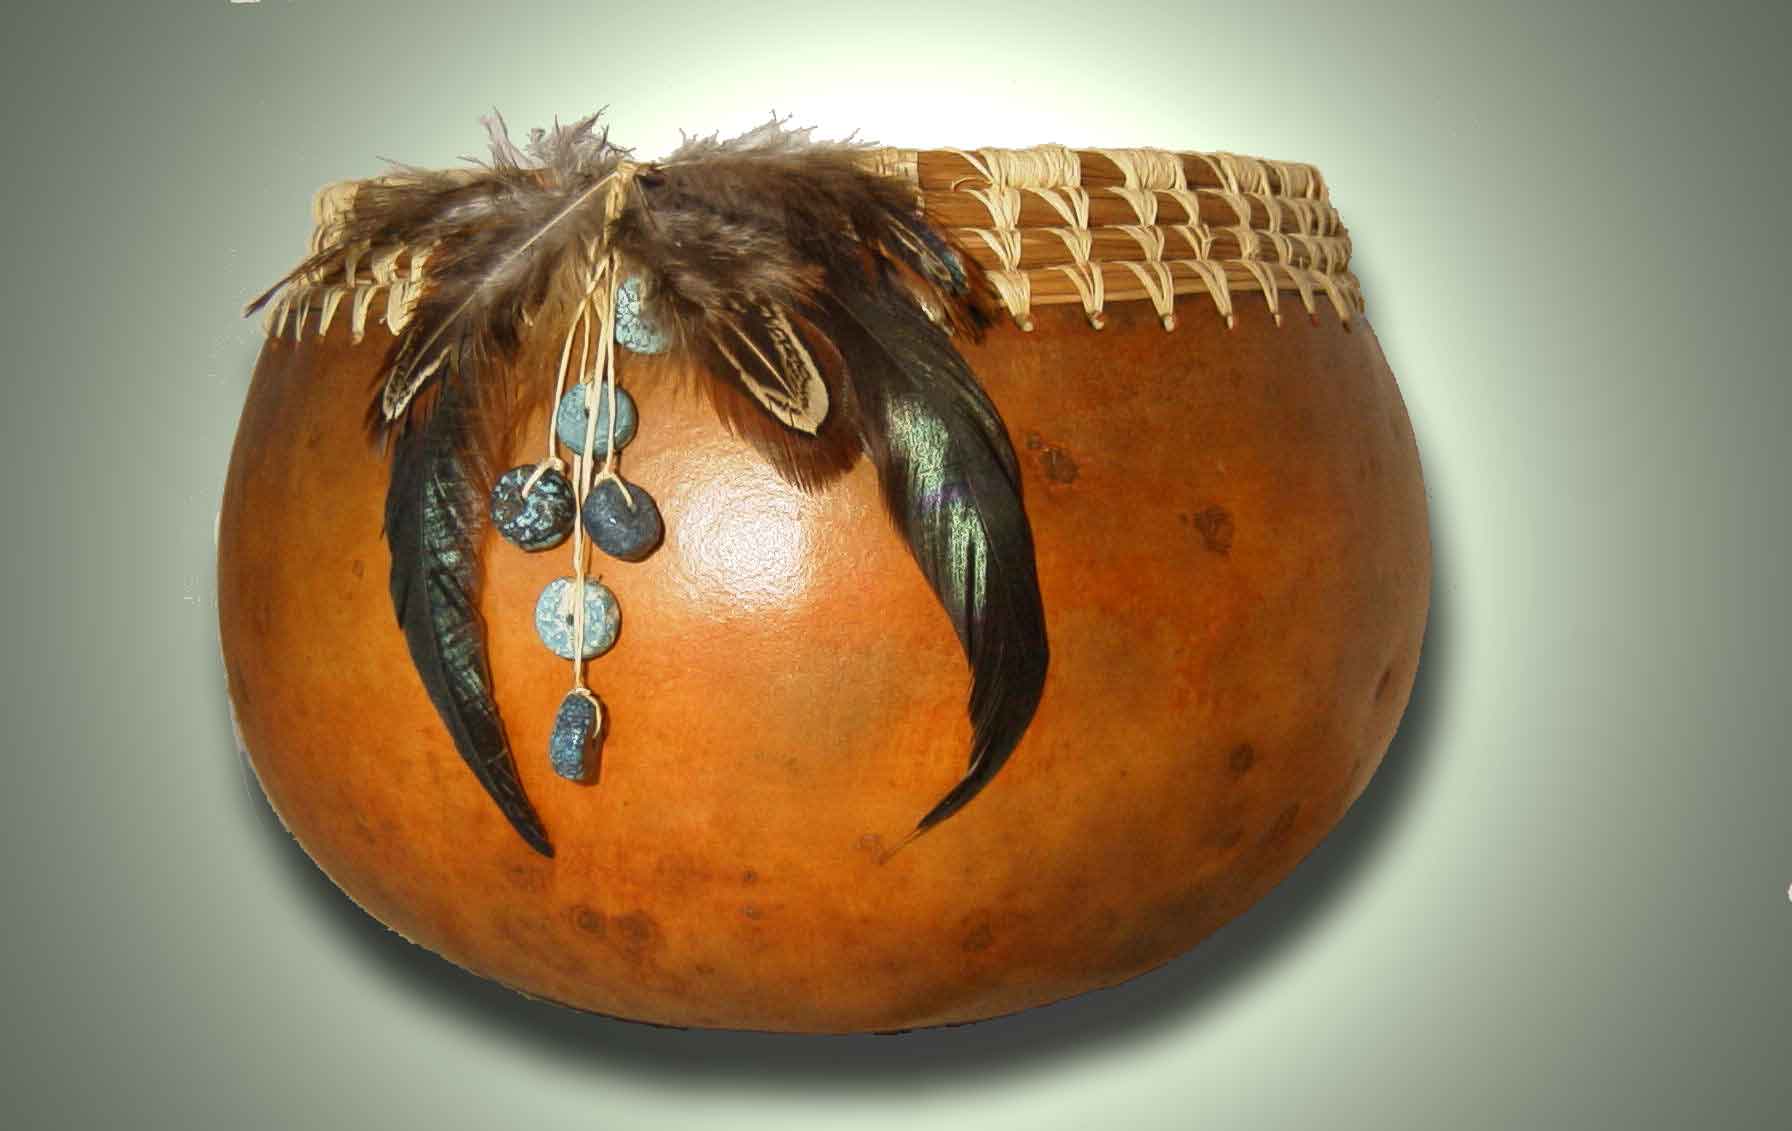
To finish the top of the weaving, begin tapering the needles to fewer and fewer. They will naturally taper because there will only be the pointed ends showing at this point. The needles can be trimmed with scissors to taper to the ending.
** Thanks to The Book of Pine Needle Craft Instructions by Veronica T. Walsh for the pine needle stitch graphics and ideas for the directions. This book was published by Do Do Sales Inc., Seffner, FL.
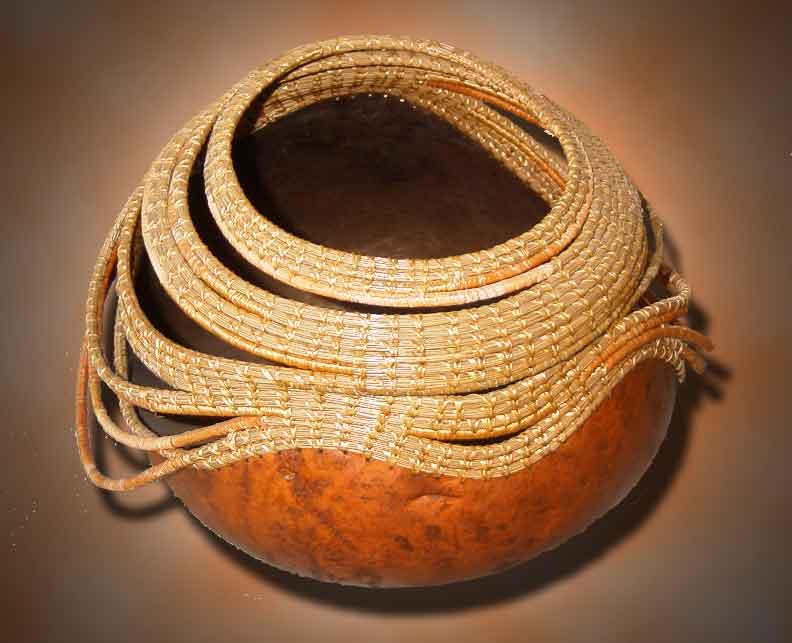
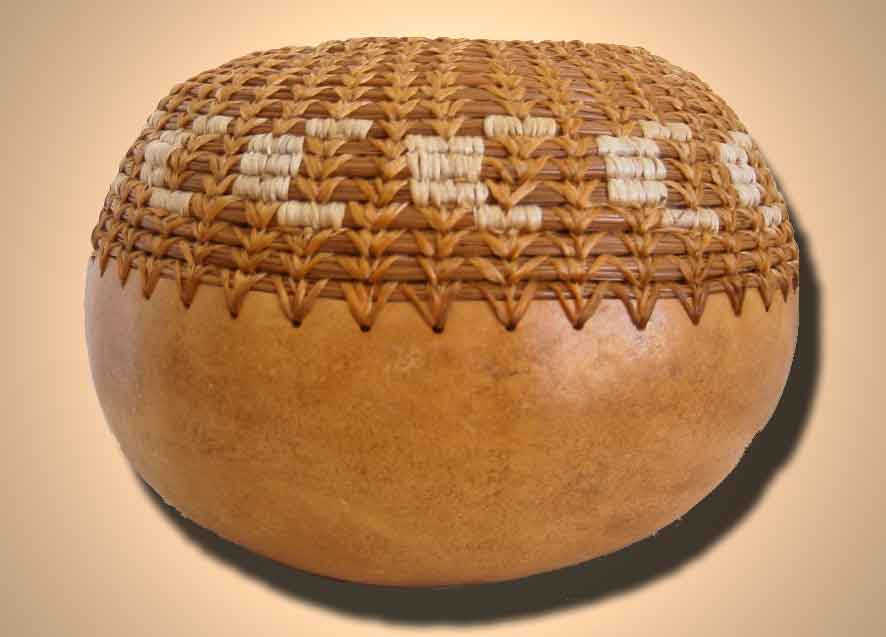
Pine Needle Basketry on Gourds
Getting Started
Learning to include skills borrowed from other
artistic endeavors broadens the range of mediums available to give "life" of a gourd.