Planning a gourd takes some thought before any actual carving takes place. What I eventually carve depends on the shape of the gourd, it's thickness, what specific ideas I'd like to try and what animal and environment I'd like to carve.
Cutting off the top
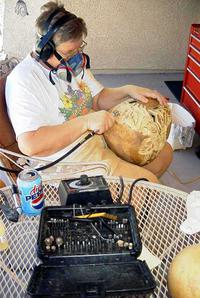
Early carving using a Foredom
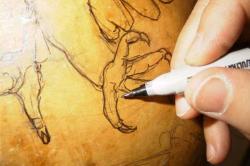
Since most of the gourd shell will be carved away, the pencil drawing is traced with Magic marker. I don't have to worry about rubbing off my drawing.
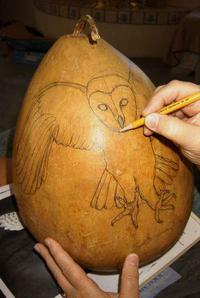
The ideas are first sketched on with pencil.
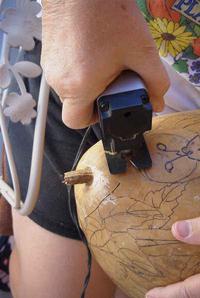
It is always nice to see a thick gourd. This one was so thick that I had to use a regular jig saw rather than the little Microlux. I broke too many blades using the small saw.
Selected areas of the gourd are then cut out.
Planning and preparation - As with most things in life, sufficient forethought to the project greatly contributes to its success. Picking up a gourd and "seeing" the final design takes experience and practice.